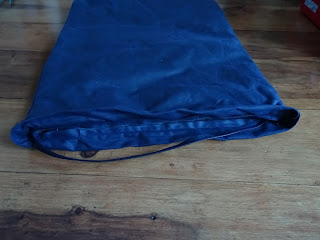
I
bought Mr TimeForCrafts a lightbox for Christmas so now I’m making a cover for
it so it can be stored safely and carried about if and when needed. I have a
nice soft but thick fabric for the inside so the lightbox doesn’t get
scratched, a fabric chosen by Mr TimeForCrafts and a zip that fits across the
top of the bag.
I will
write this up for the lightbox but you can adapt the method for anything you
want to make a protective case for.
First
of all I need to measure the lightbox, 48cm by 36cm. I am going to add half a
centimetre on because it is thick fabric and don’t forget the seam allowance (this
is going to play out very much like the drawstring
bag post). I cut out the inner fabric and stitch up 3 sides. With the outer
fabric, I made it 5cm longer than the inner and stitched around 3 sides.
Then
placed the outer inside the inner, wrong sides facing. I then folded the top of
the outer fabric over to the inner fabric and pinned the zip along where the
two fabrics meet. Stitch.
I
turned the bag the right way round and, with great difficulty, pinned the other
side of the zip to the opposite side of the bag and stitched.
This should
leave about a 2.5cm lip around the top of the bag, a nice stitched line around
the bag that is also hiding the raw edge of the inner fabric and a zip inserted
2.5cm down from the top of the bag.
Hope this makes sense, enjoy!


No comments:
Post a Comment